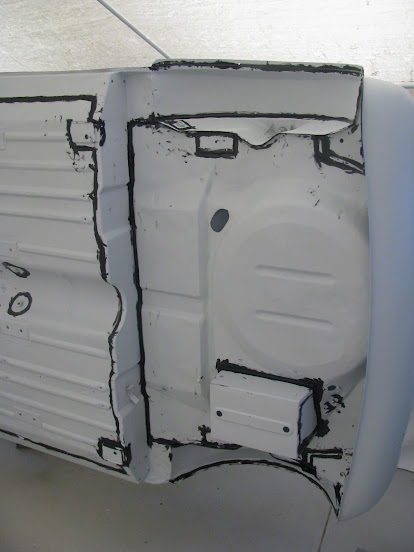
The next task was to apply seam sealer and paint the underbody. I scuffed all areas with a maroon Scotch-brite pad (3M 7447) to prep for the underbody coating and after wiping over everything with wax & grease remover, the seam sealer (Sikaflex 227) was applied to all areas of the underbody and lower engine bay where any panels overlap or had welded rust repairs. Although it looks a bit messy it will all be painted over.
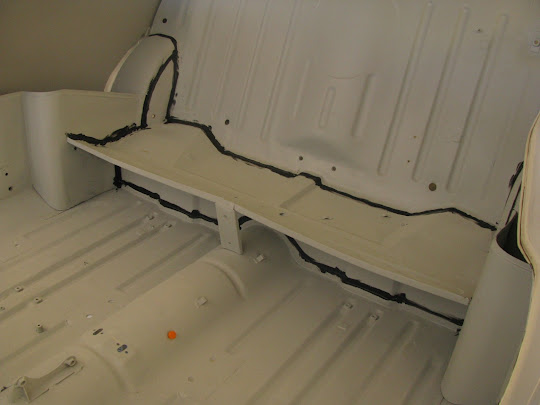
Every other panel join inside and outside of the car as well as boot-lid, doors and bonnet then had seam sealer applied (after scuffing with Scotch-brite pad)
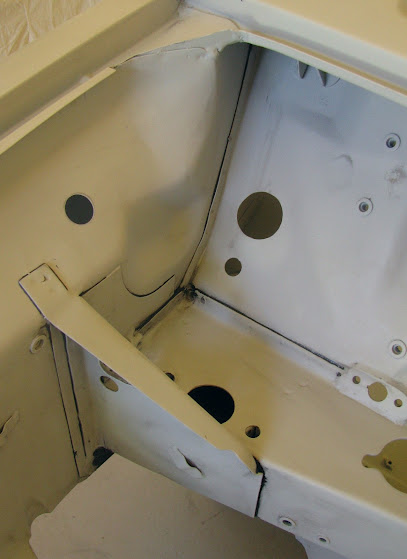
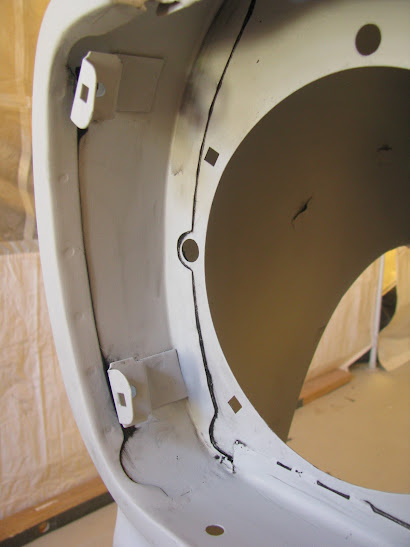
The panel joins in the engine bay and front bumper area had seam sealer applied and any excess carefully wiped off, leaving only the seam sealer at the panel joins :
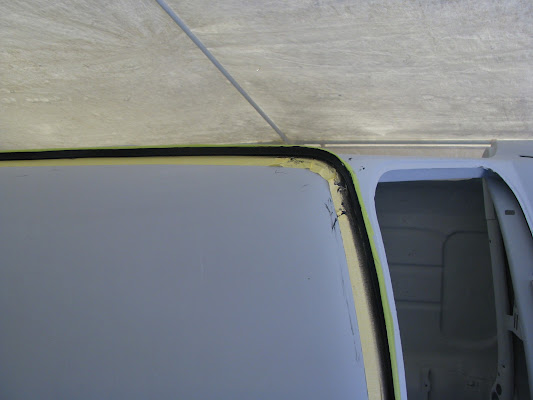
For the roof I taped off the gutter and liberally applied seam sealer in the gutters, making sure that the two drain holes in each corner were still open.

Seam sealer in interior was also done
The bootlid and doors then had seam sealer applied over the door skin edges (I could only get white colour for a new seam sealer cartridge).





Comments
Post a Comment