Before prepping the shell for high-build primer I wanted to take time to confirm that all major parts still fit and panel gaps were okay.
The first task was to install the engine and to help this task I made a custom engine lift bracket for the Toyota Starlet engine that would keep the engine at the best front-to-rear tilt whilst fitting it in the Mini (I don't know why I didn't make this years ago!)

While I was fitting the rear engine mount, I noticed that the pin through the polyurethane had moved and the mount was no longer centred.

To fix the mount position better I machined a custom bush that has a larger diameter either end to prevent any lateral movement.
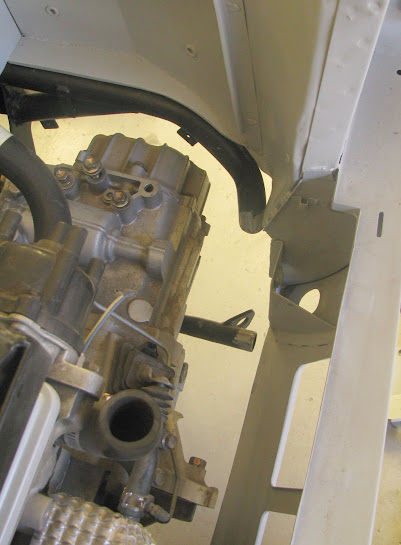
I had previously modified the front fascia panel to fix a serious bonnet gap issue and knew it would affect the subframe front mounting and require some re-work. The gearbox-side engine mount no longer aligned with the front apron mount hole and it was easier to completely remove it and remake the mount.
With the engine installed (and the other two engine mounts and engine steady fitted to hold the engine in the correct position) I fabricated and tack-welded a new gearbox mount bracket in place, then fully welded it after the engine was removed again.

The front brace bar also needed to be modified however I chose to remake the entire piece. The original bar was made with 32mm, 3mm wall structural tube which was significant overkill for primarily mounting the radiator so the new one was made using lighter 25mm, 1.5mm wall.
Old vs new brace bar :
All of the new or modified areas of the subframe were repainted with KBS Coatings RustSeal and 2 coats of satin black enamel.
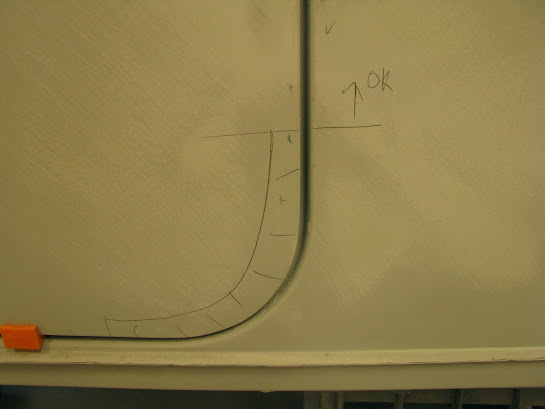
The bonnet, doors and boot-lid were fitted to reconfirm panel alignment & gaps. The bonnet needed a slight tweak one of the rear corner gaps.
Before :

After some panel beating to add an extra ~1.5mm gap

For the doors I 3D printed a couple of little spacers for the bottom of the door opening, that holds the door in exactly the right position to align the doors with the sill area and maintain the lower gap.

I used a sanding block and metal ruler edge to find any high/low spots between the panels. The passenger door needed a small amount of panel beating to get a few of the edges moved in/out (only about 1mm) to align with the body panel.

The drivers door needed similar panel beating to get the edges aligned with the shell, moving the vertical edge outward and lower corner edge inward. The doors will need some additional filler and sanding on those edges which will be done at the same time as high build primer work.
The last change to the panels was fitting a liner to the boot-lid. I purchased a (pre-cut) liner and I chose to install M4 rivnuts instead of using the self-tapping screws supplied the the liner.


Comments
Post a Comment