The body work is at a point where I can fit flares without worrying whether any part of the shell will be altered. Some time ago I had fitted the subframe, hubs & front rims to determine how far the wheels will stick out from the guard, which was measured as 42mm (with 0 degrees of camber) :

Some of stick out is due to using MG Metro drive flanges and discs/rotors on the Mini and some due to wider 12x5 rims. The stick out past the wheel arch lip is why I need to fit flares - to keep it legal.

I sourced a set of fibreglass Wood and Pickett type flares which have a width of ~58mm (2.25") at the top of the arch.
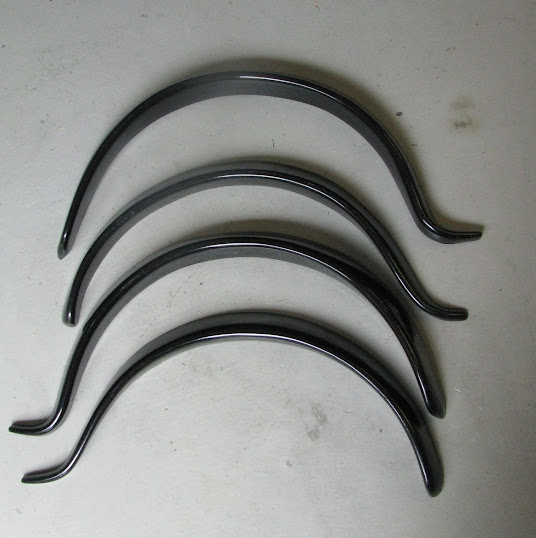
The flares were offered up to the shell and found they all needed work to butt up against the shell properly.

The bigger issue however was that the flares didn't seem to match the curvature of the wheel arch lip. To confirm this I placed a piece of cardboard against each of the wheel arches, marked a line of the wheel arch curve then cut them out.

It turns out none of the four flares actually matched the wheel arch curves. For example this flare was okay at the top but tucked in at either end :

...compared to a set of (narrower) ABS plastic flares which matched the curve perfectly.

I also found the left and right flare ends had a different shape which also had to be corrected.

To reshape the flares to match the wheel arch curvature I made a series of offset cuts along the length of each flare which allowed them to flex.
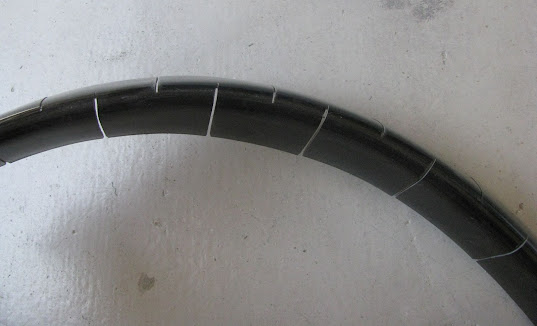
With the ends cut off this allowed me to clamp the flares to the body and superglue some small pieces of steel over the cuts to hold the corrected shape. A couple of layers of fibreglass was then applied to the back of the cuts.

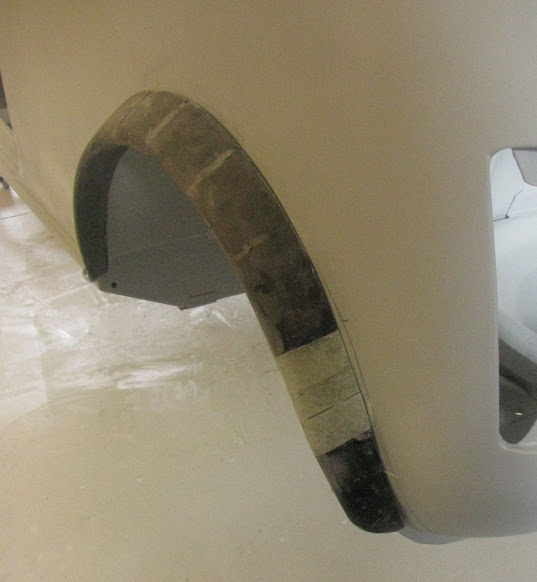
The next issue was the curve of the front flare lower section did not match the body seam (photo taken with the shell upside down).

Like the larger sections of the flares, multiple cuts were made to flex the pieces to the correct shape then held in place by supergluing a strip of steel along the length. New fibreglass was then applied to the back of the pieces.
The thing I didn't like about the rear flares is they did not continue downward to the rear valance. It looks a bit incomplete without a bumper and the wheel arch lip exposed (the rear bumper normally obscures this) so the rear flares would need extending.
For the rear flares one end was first cut off (photo is of the shell upside-down on the rotisserie to make it easier to work on).

I made a basic shape for the missing sections and these were then inserted in the gap to extend the rear flares approx 100mm.
This style flare doesn't use fasteners that screw into the side of the body but pop-rivets fitted from underneath, up into the wheel arch lips. I didn't like the idea of using pop-rivets to secure the flares as the wheel arch lip was as narrow as 8mm wide - not wide enough to be confident that they stay securely fitted.
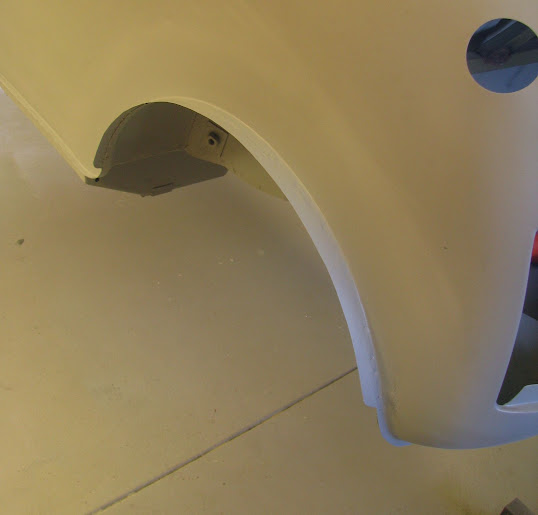
I stripped primer from all the wheel arches and tack welded on a strip of steel to extend the lip widths.
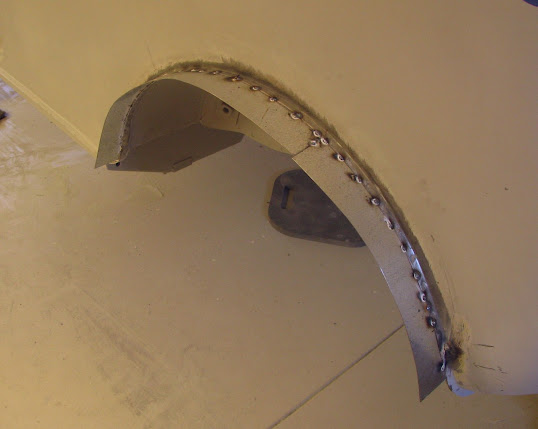
Fully welded on, trimmed to approx 25mm stickout and painted with epoxy primer :
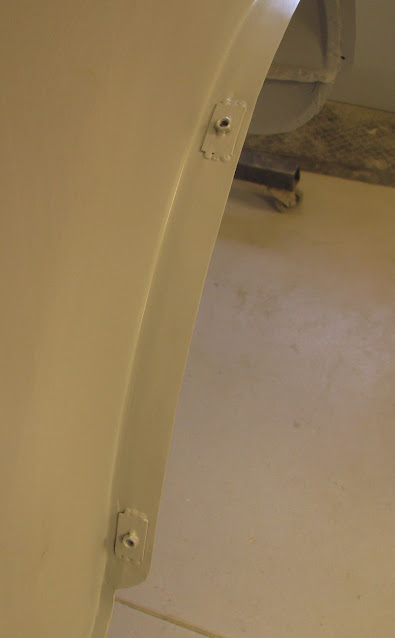
Four evenly spaced holes were drilled in each flare and instead of using rivnuts I welded on some M5 nuts on small plates to provide support for the thin steel of the wheel lip extensions.
Nuts and plates welded onto the lip extensions :
The flares then needed new fibreglass added to get them to butt up neatly against the body. I applied painters tape on the body to cover the panels and some fibreglass to bridge any gaps.
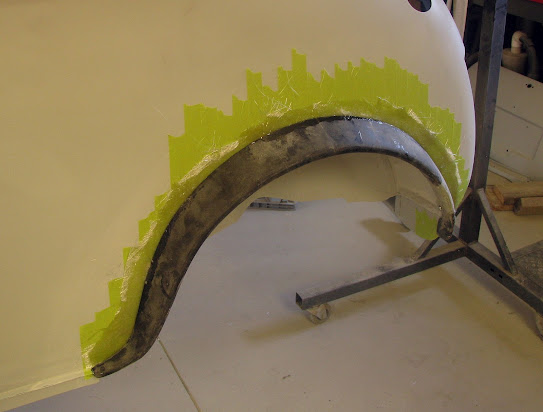
After trimming, additional fibreglass strengthening, shaping and filler/sanding, the flares were painted with primer.




Comments
Post a Comment