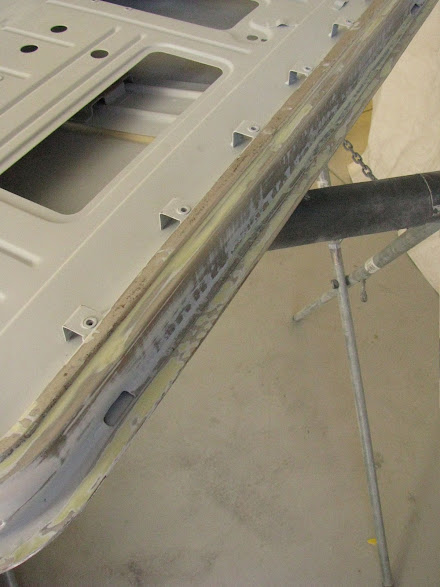
I've never liked the bracing design on the classic Mini Clubman bonnet due to the large centre area that has no support, which has a good chance of being dented if leaned on heavily. It looks like this bonnet had experienced that so I fabricated a custom brace with a similar shape/profile as the factory braces.
The new piece fits between the factory bonnet braces. A 2-3mm gap was purposely left between the new brace and bonnet skin. 
With this welded in place it should prevent any further dents to the bonnet, which is likely the reason for the some of the visible panel beating dents in the bottom right and some oil canning.

Some anti-flutter sealant was applied in the gaps between sections of the braces and bonnet skin to mitigate flex of the bonnet skin. This sealant cures as a soft elastic product which still allows for minor panel movements.
The same sealant was applied between the door brace and door skins which resolved some slight oil canning that the door skins had. 
The cured sealant was soft enough that the bonnet skin would still move a few mm with pressure applied so to limit the movement whilst sanding body filler on the top of the bonnet, I 3D printed some simple wedge pieces to slot under the bonnet braces.
The bonnet then had body filler applied, sanded, and repainted in epoxy primer.
Next the doors and boot lid had to be worked with body filler/sanded. The doors look bad in this photo however most of this body filler was relatively thin to fix the minor wavy panel issues.
The minor dents on the door interiors were also sorted out.
Most of the work on the interior doors was on the edge areas where the door bins were removed which will be visible once the door card is fitted. 
The boot lid had a couple of areas to fix from welding up some old badge holes and a dent on the left hand side where I could not access the back of the boot skin (behind some brace pieces). 


Comments
Post a Comment