Continuing filler on the shell exterior, next was the front grille area and valance requiring a lot of detailed work around the recessed park light/indicators and lower valance. 

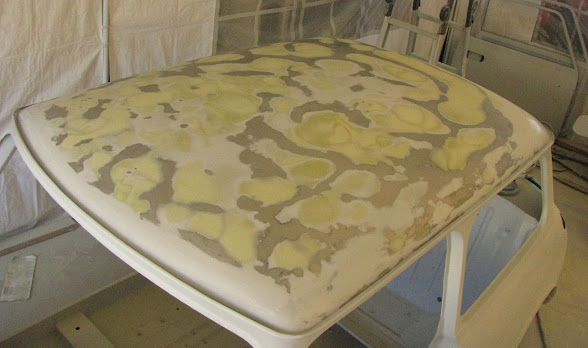
The result after sanding the first couple of applications of filler :
Despite none of the filler being very thick on the roof, it took a significant amount of time and approx 5 passes of filler/sanding to get the large surface smooth enough that I was happy enough, and took over 20 hours of work for just for the roof!
The engine bay had some sections of damage from rust pitting and other repairs on the bulkhead that only required small skims of body filler, however it was just fiddly and surprisingly time consuming.
The last job was fixing the shape of the panels around the base of the (de-seamed) C-pillar on the shell. The original welding resulted in average panel alignment and the panel creases sitting too high/proud.
After some panel beating, everything was welded back together and ground back to give a much better profile (this work was done of both sides of the shell) 
After some epoxy primer, filler and detailed sanding, the last of the deseaming work was complete. It also turns out that the profile of the top crease in the rear and side panel is a slightly different shape so I had to blend the two where the vertical seam used to be.


Comments
Post a Comment