With the old etch primer and patches of primer/filler now removed from the Mini shell, a surprisingly large number of pin holes in the panels were exposed. All these pinholes were welded up, however I found much worse issues involving previous low quality rust repairs.
The curved panel section next to the rear wheel arch seam wasn't repaired well so the panel was cut away, only to find untreated rust underneath and had a panel just welded over it (as well as several small holes at the back).
This whole area including the seam was cut off, holes welded up and a new lower part of the seam remade. The inner area was then painted with (black) zinc paint.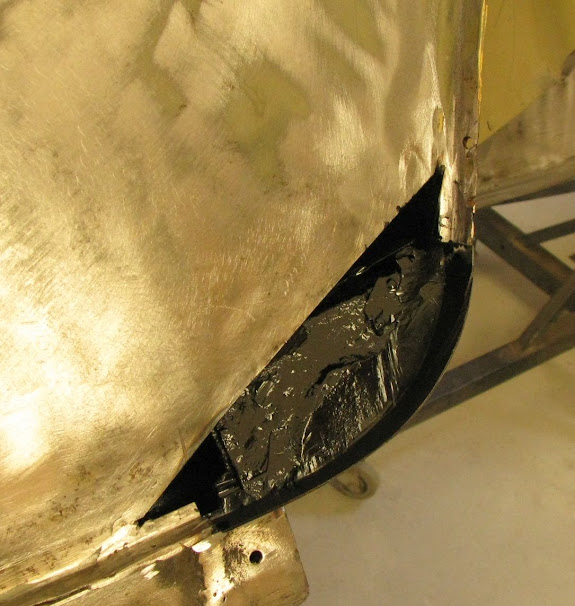
A patch panel with an upper seam strip was then welded in.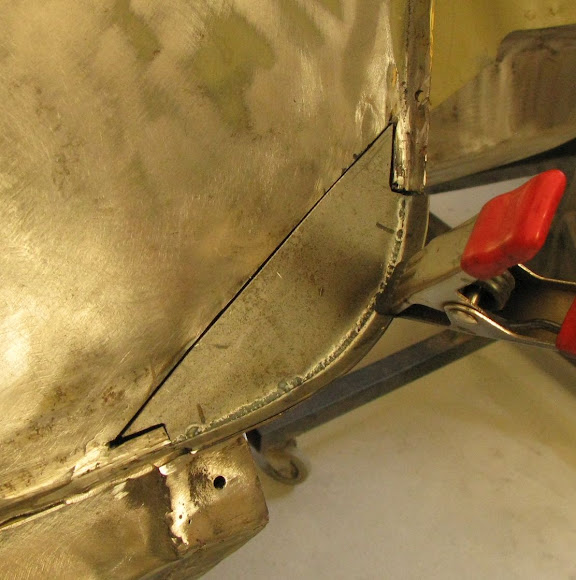
A previous repair of the rear wheel arch rear lip (joining the boot floor) resulted in a weird overlap in the panels : 
After some cutting and rewelding this was fixed, then the large rust hole exposed by the recent sand blasting was also patched.
Everything fixed and all welds cleaned up :
The drivers side wheel arch had an (attempted) repair which was just a glob of messy welds which didn't even penetrate into the base metal. Grinding the welds back revealed a ~25mm rust hole between the cabin & wheel arch, which had to be properly repaired with an inner and outer repair piece welded in.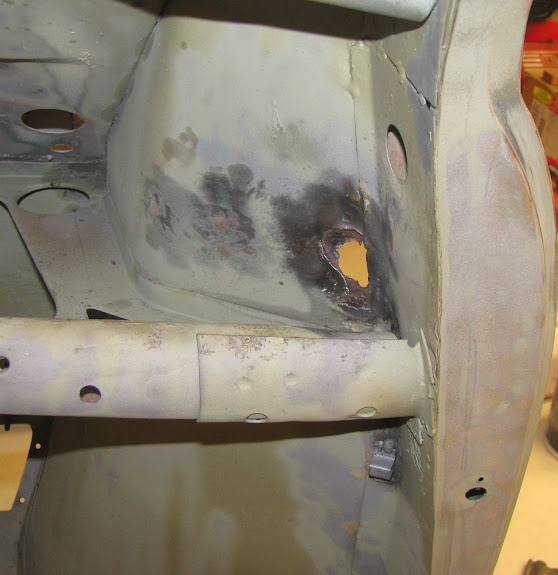
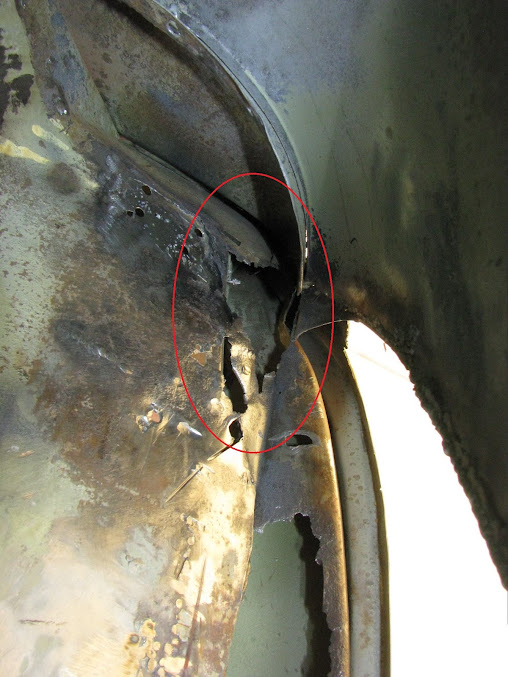
The passenger wheel arch had a couple of rust holes at the (very hard to reach) top corner of the wheel arch. I cut an access hole next to the door to investigate and found multiple rust holes large enough to stick a 12mm drill bit through.
This repair would involve removing the A-pillar inner & outer panels to get access to the upper wheel arch, and replace them with some new panels.
The outer A panel was first cut off 
The inner A panel was then removed which exposed a huge section of rust damage that had never been repaired properly - just a piece of steel welded over it. There is supposed to be a vertical panel here, not a gaping rusty hole.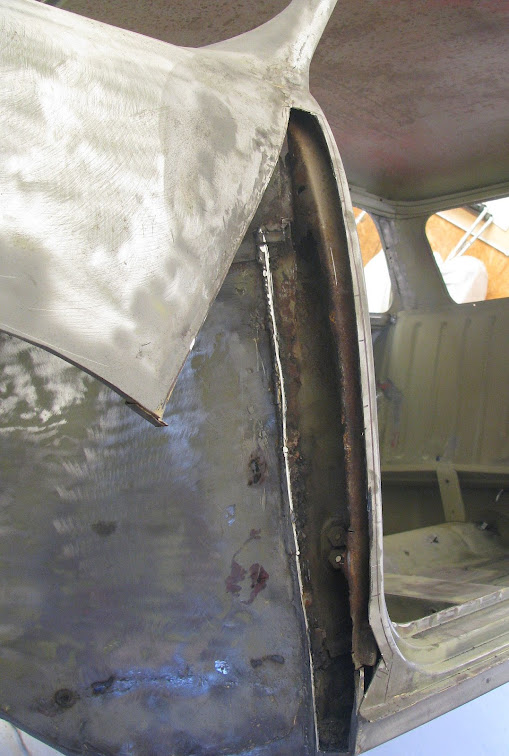
Before :

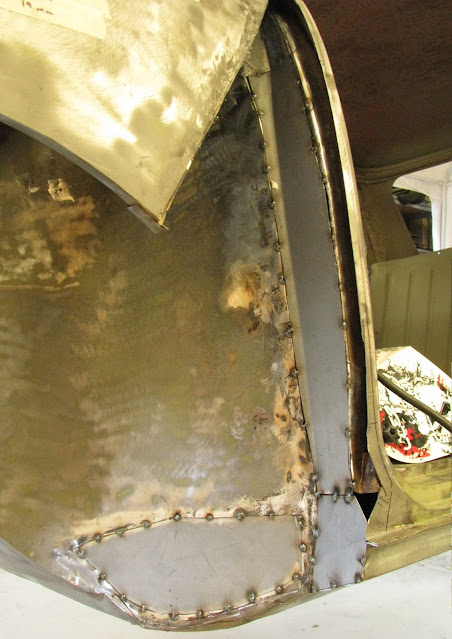
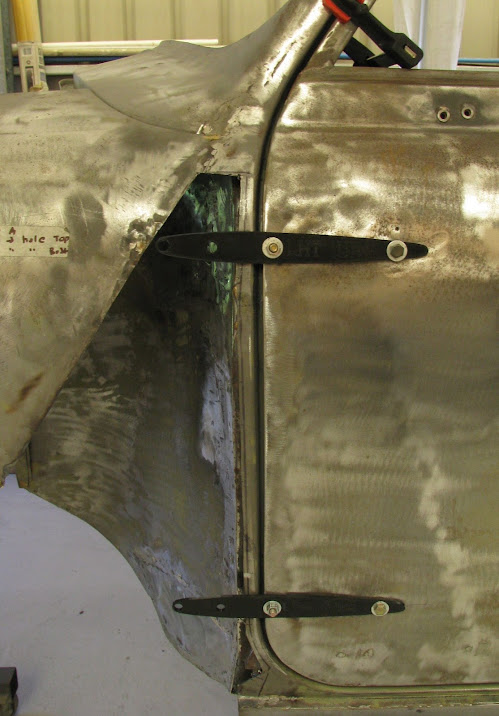
A repair patch had also been welded in the drivers side front wheel arch and given the low quality of repairs I'd already found, I cut this patch off... and found yet another example of a steel piece just welded over the top of rust damage.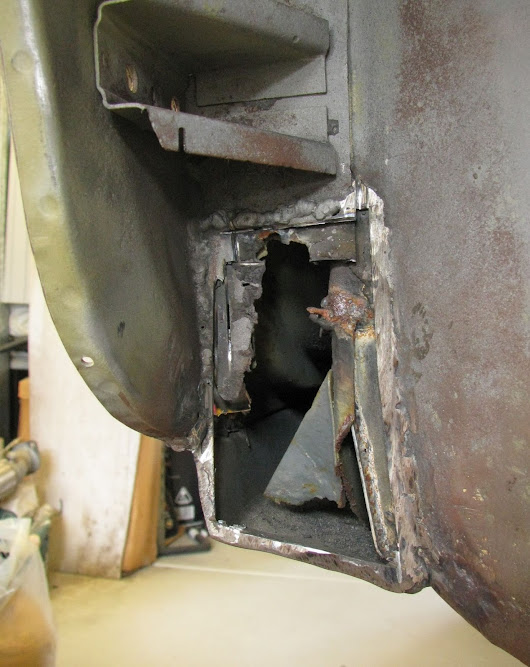





Comments
Post a Comment