The custom subframe for the Toyota Starlet engine required a significant amount of the Mini inner guards to be cut away to fit it. After making some fibreglass liners to cover the main areas I now had to seal up some of those smaller openings to prevent water and debris from entering the engine bay.
The passenger side had a small gap between the inner guard and the subframe
This was filled in with a thin edge strip of steel then tweaked to give a ~1-2mm gap, to allow for any movement of the body.
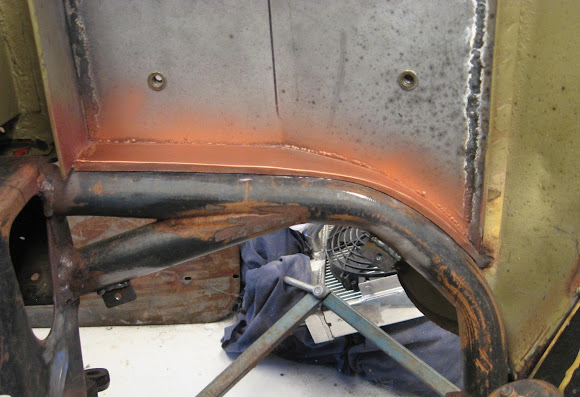
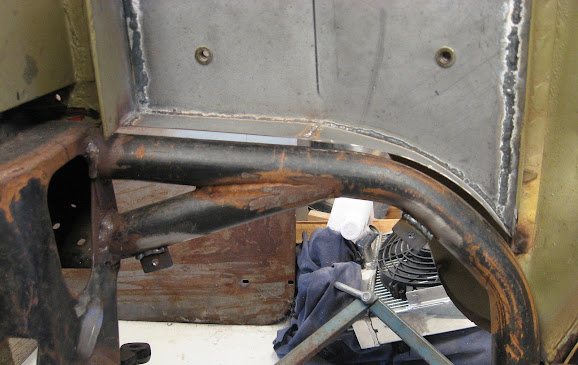
On the drivers side there was a much larger gap
This also required a strip of steel to be carefully shaped and welded in.
There were a lot of holes/openings in the engine bay which are not required so I patched all the old holes for screws, wiper motor mounts, original Mini factory wiring, grommets etc. There ended up being over 30 holes of various sizes to blank off in the engine bay.
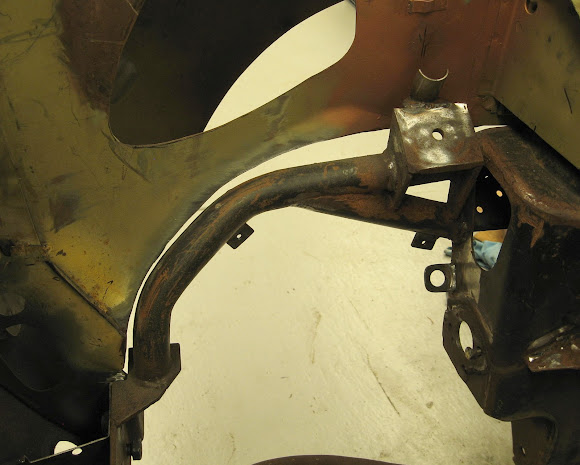
As an example, this is the drivers side wheel arch before :

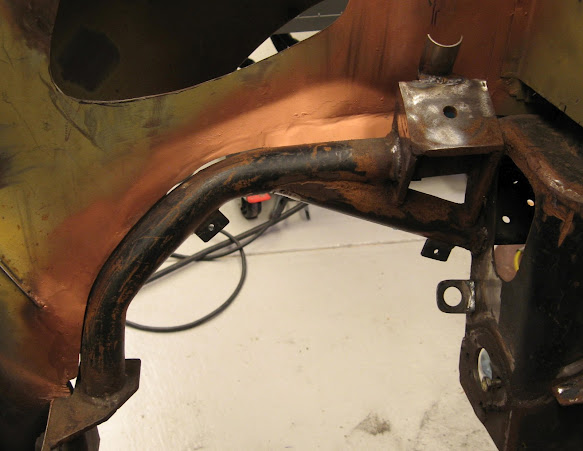
After welding up these 8 holes, it has cleaned up the area significantly.

When I recently re-made the alternator mount bracket, I had to make the opening in the inner guard slightly larger and now had to modify the alternator enclosure to match the larger opening.

This was an easy job to cut away some of the enclosure and fibreglass in a new piece. I then fitted some rivnuts to the enclosure and drilled some holes in the inner guard for mounting it.

I also removed some spot welded brackets within the engine bay such as a factory brake line mount against the bulkhead, which I'd previously cut the top section off and left the spot welded section.

It turns out it was a good idea to remove this as there was substantial amount of rust behind it.
Across the back of the front bumper I added a row of wiring loom mounts for the lights/indicators wiring :

A hole was drilled in the firewall for the grommet which will route most of the sensor cables for the digital display into the cabin. The grommet is hidden behind the intake manifold.

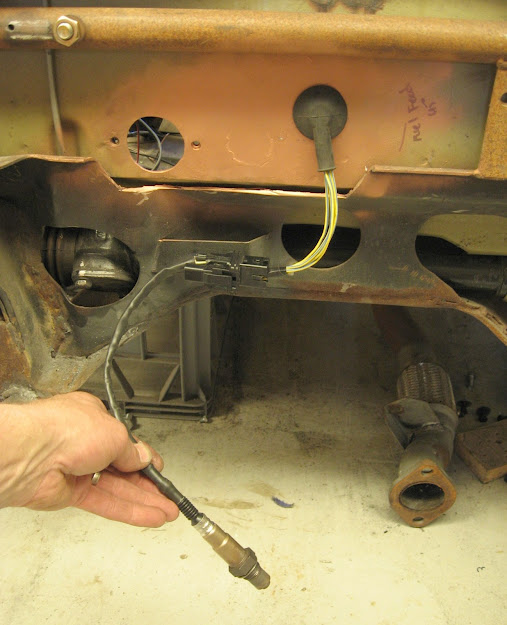
The wideband oxygen sensor loom (6 wires) also needed a route into the cabin. I chose the most direct route - through the lower firewall via a dedicated 90deg grommet to route the wiring directly downward to the wideband oxygen sensor location.
At this time I decided against using the bulky antenna that mounts in the passengers side guard and install a roof mounted antenna. I had to weld up the couple of holes made for the guard antenna and wiring, then sourced an adjustable roof mounted antenna from a Hyundai Getz and drilled the appropriate mounting holes in the roof panel.
I will also be using a custom 3D printed spacer to ensure the antenna wire doesn't touch the body shell.
The antenna signal wire will be easily routed along the top lip of the roof in the cabin and down into the dash area.
I had previously made a plastic junction block for the 12V battery cable on the front subframe tube however the last time I tightened it, the epoxy glue I used to join the two pieces together failed and it split in half.
Now that I have a 3D printer, I designed and printed a new single-piece block - this has the bolt head captured in a hex-shaped recess with a cap over the bolt head to prevent the bolt from grounding to the subframe.


Comments
Post a Comment