The classic Mini factory door cards are as simple as they come - with a rectangular piece of melamine/masonite covered in vinyl, with cutouts for a door opener handle and a window winder handle. For my Mini I wanted some speakers and an arm rest in the doors. I fitted the drivers seat, steering column, steering wheel and door to the Mini shell and whilst sitting in the seat, marked the the arm rest and speaker positions and the door and made sure it didn't impinge on leg/knee room.
To make the custom door card I cut a piece of 3mm melamine to the shape of the door card and nailed it to some plywood. Note that the profile of the door is not completely flat and has a small curve at the base of the door so I glued some small wedges to the plywood to create this profile.


I marked the position of everything in the door card

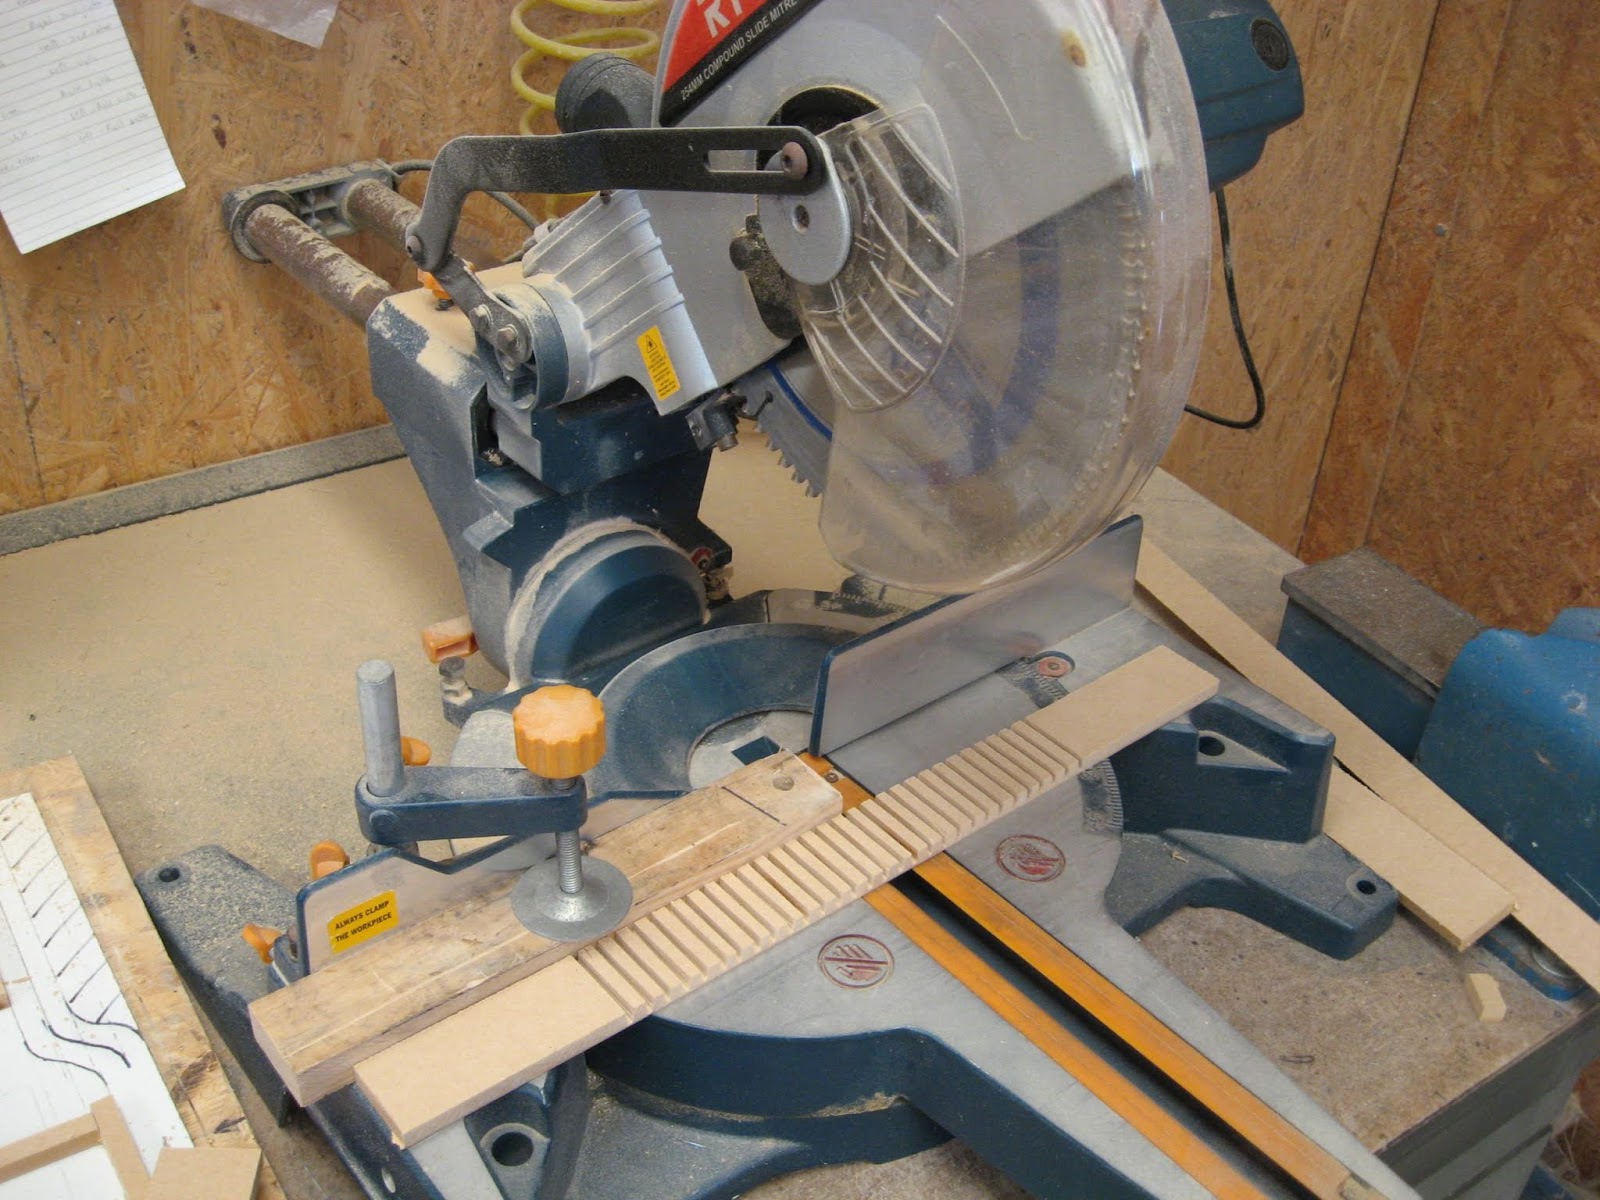
I glued a MDF frame together to the melamine. Due to the installation of power windows, I wanted the door cards to cover the window winder shaft that protruded from the door approx 35mm. The large area around the speaker encloses this shaft. Kerfing the MDF with my sliding compound mitre saw helped to evenly bend the pieces around the corners as well as the speaker enclosure.


After the MDF frame was glued together, I stretched and stapled some spandex over it. This is where spandex is better than fleece for covering complex shapes. Spandex is not as thick as fleece and will need additional layers of fibreglass to strengthen it, but spandex can stretch much better over contours than fleece and also stretch in all directions.

The material was soaked with polyester resin and I added a layer of fibreglass cloth over the top to give it some strength and additional thickness. Note that everything except the edges of the door card is raised by ~10mm which will provide room for some sound insulation between the door card and door.


I added a skim of resin and phenolic microballoons combo over everything, sanded it smooth and trimmed it to fit the door. To help maintain the shape of the profile around the edges as everything was sanded, I made a quick sanding block template to match the profile.


For the armrest I made a plug, mold and a copy of the shape I wanted. It's a pretty basic shape but matches with the squared-off design of the lower dash panel and centre console in the car.


I was going to simply fibreglass the armrest piece into the main door card piece as is, but I figured it wouldn't be overly comfortable when leaning on a hard surface. I wanted to have some padding for the armrest so I made a mold for removable insert and fibreglassed it into the armrest. It's a bit hard to see the inset shape in the following photo though.

This next photo shows the this insert piece shape better - it's a solid piece of plywood which will be upholstered with some foam padding underneath the material to provide a nicer feel to the arm rest.

I fitted the door and door card to the Mini shell to confirm the height and position of the armrest in the door card. From there, I cut a hole in the card and fibreglassed the armrest in.

A few lights coats of primer provided a more consistent colour and I got a much better idea of the end result instead of the optical illusions caused by the spandex pattern. You may also note here that the storage bins that are normally attached bottom of the doors have been removed.

The next step is to mount the door card and add some interior handles.
To make the custom door card I cut a piece of 3mm melamine to the shape of the door card and nailed it to some plywood. Note that the profile of the door is not completely flat and has a small curve at the base of the door so I glued some small wedges to the plywood to create this profile.


I marked the position of everything in the door card

I glued a MDF frame together to the melamine. Due to the installation of power windows, I wanted the door cards to cover the window winder shaft that protruded from the door approx 35mm. The large area around the speaker encloses this shaft. Kerfing the MDF with my sliding compound mitre saw helped to evenly bend the pieces around the corners as well as the speaker enclosure.


After the MDF frame was glued together, I stretched and stapled some spandex over it. This is where spandex is better than fleece for covering complex shapes. Spandex is not as thick as fleece and will need additional layers of fibreglass to strengthen it, but spandex can stretch much better over contours than fleece and also stretch in all directions.

The material was soaked with polyester resin and I added a layer of fibreglass cloth over the top to give it some strength and additional thickness. Note that everything except the edges of the door card is raised by ~10mm which will provide room for some sound insulation between the door card and door.

The MDF was carefully removed from the fibreglass piece, then another layer of fibreglass was added to the back of the door card for a total thickness of around 2-3mm.


I added a skim of resin and phenolic microballoons combo over everything, sanded it smooth and trimmed it to fit the door. To help maintain the shape of the profile around the edges as everything was sanded, I made a quick sanding block template to match the profile.


For the armrest I made a plug, mold and a copy of the shape I wanted. It's a pretty basic shape but matches with the squared-off design of the lower dash panel and centre console in the car.


I was going to simply fibreglass the armrest piece into the main door card piece as is, but I figured it wouldn't be overly comfortable when leaning on a hard surface. I wanted to have some padding for the armrest so I made a mold for removable insert and fibreglassed it into the armrest. It's a bit hard to see the inset shape in the following photo though.

This next photo shows the this insert piece shape better - it's a solid piece of plywood which will be upholstered with some foam padding underneath the material to provide a nicer feel to the arm rest.

I fitted the door and door card to the Mini shell to confirm the height and position of the armrest in the door card. From there, I cut a hole in the card and fibreglassed the armrest in.

A few lights coats of primer provided a more consistent colour and I got a much better idea of the end result instead of the optical illusions caused by the spandex pattern. You may also note here that the storage bins that are normally attached bottom of the doors have been removed.

The next step is to mount the door card and add some interior handles.
Comments
Post a Comment